
Planting
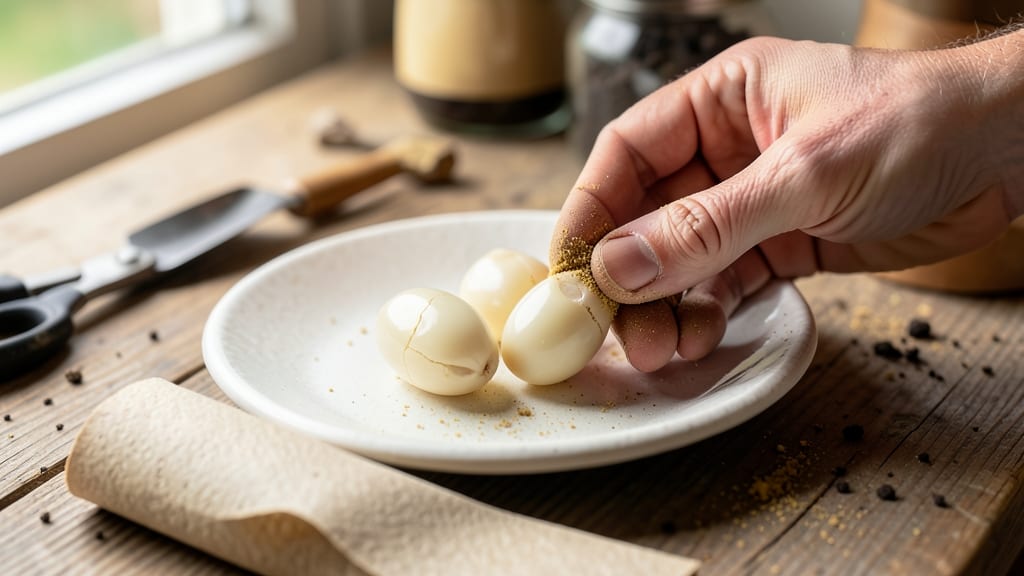
Struggling to get your squash seeds to sprout? These 10 proven methods will help you jumpstart germination in just 5 days—even with stubborn seeds. Learn expert techniques to boost success rates and grow healthy, vigorous plants.
Warm Water Soaking Method
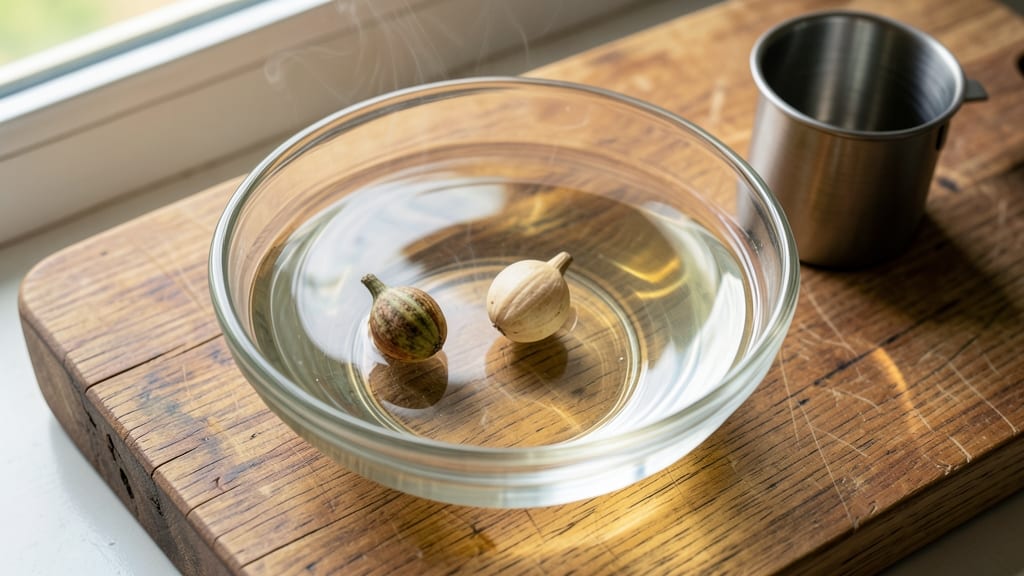
Tired of waiting weeks for your butternut or acorn squash seeds to sprout? The warm water soaking method cuts that time in half by softening the seed coat and kickstarting germination. This simple trick works especially well for stubborn varieties that resist traditional planting.
Fill a bowl with warm (not hot) water and soak your seeds for 8-12 hours—just long enough to see the seed coat soften slightly. After soaking, plant them in moist soil, where they’ll often sprout within 3-5 days instead of the usual 7-14. For best results, use distilled water to avoid chlorine or chemical interference.
This method is a game-changer for impatient gardeners or those with short growing seasons. It’s also perfect for testing seed viability before committing to a full planting. Give it a try and watch your seeds wake up faster! 🌱
Paper Towel Germination Technique
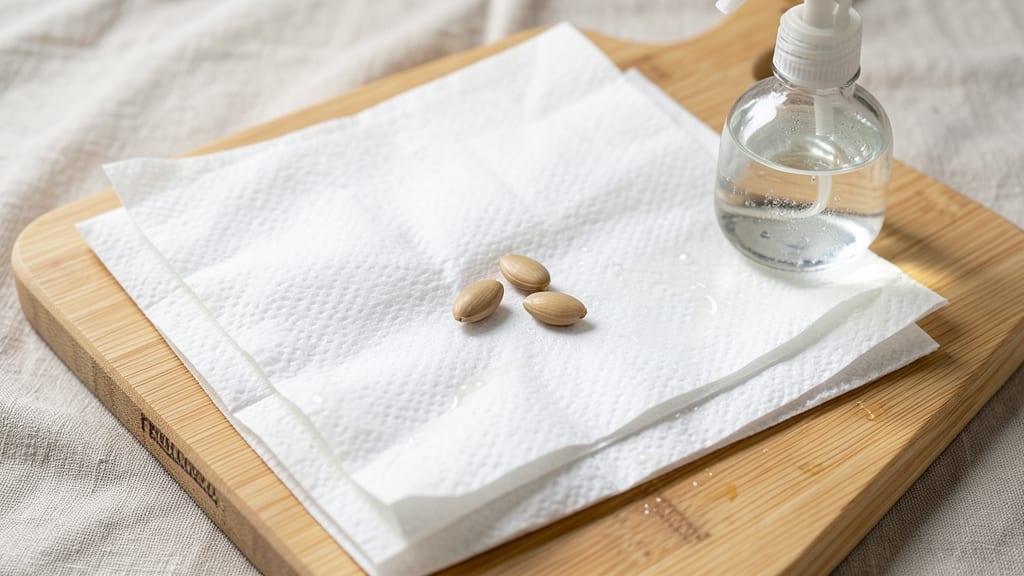
Skip the guesswork of soil conditions and watch your squash seeds sprout right before your eyes with this foolproof paper towel method. It’s the perfect solution for beginners or anyone with limited space—no fancy equipment required, just a few household items and patience.
Start by dampening two paper towels until they’re evenly moist but not soggy, then place your seeds about an inch apart between them. Roll the towels loosely and tuck them into a clear plastic container (like a takeout box) to trap humidity. Keep the container in a warm spot—like on top of your fridge—and check daily for tiny sprouts, which should appear in 3-5 days. This method lets you monitor progress without disturbing delicate roots.
This technique is ideal for urban gardeners or anyone who wants to avoid soil-borne diseases early on. Plus, once sprouted, you can transplant seedlings directly into soil without stressing their roots. 🌱
Peat Moss Pre-Sprouting Beds
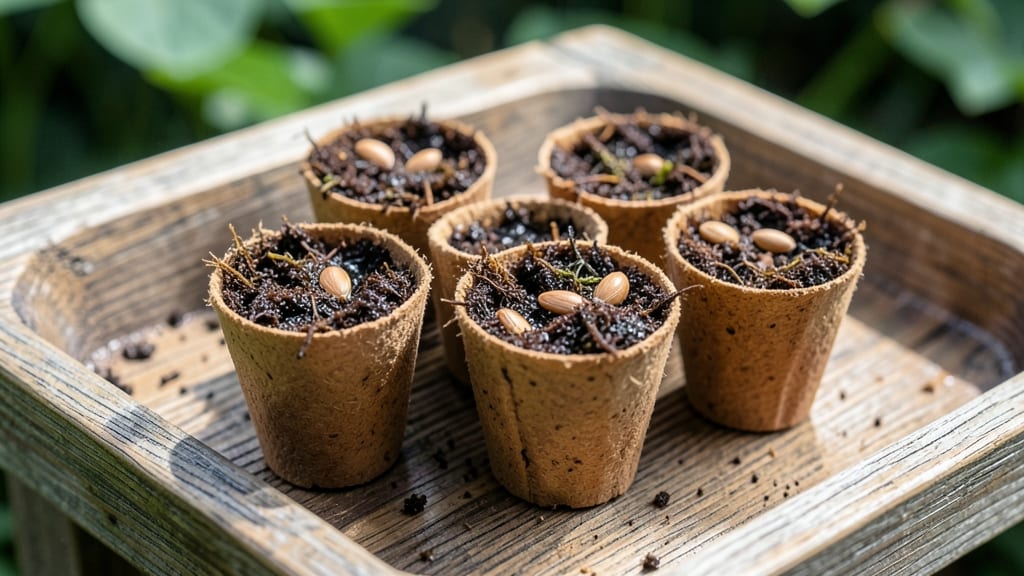
Ready to grow a large batch of squash sprouts without the fuss of transplanting later? Peat moss pre-sprouting beds create the perfect starter environment that mimics natural soil while keeping moisture locked in—ideal for gardeners who want to skip the seedling stage entirely.
Fill small peat pots with moistened peat moss and plant seeds just beneath the surface. The material retains water while allowing airflow, creating an ideal balance for germination. Once sprouts emerge, you can transplant directly into the garden with minimal root disturbance. This method works especially well for squash varieties that prefer well-draining soil.
Best for gardeners who prefer hands-off methods or need to start hundreds of seeds at once, this approach eliminates the risk of root damage during transplanting. Plus, the biodegradable pots break down naturally in the soil. 🌱
Chill Stratification for Slow Germinators
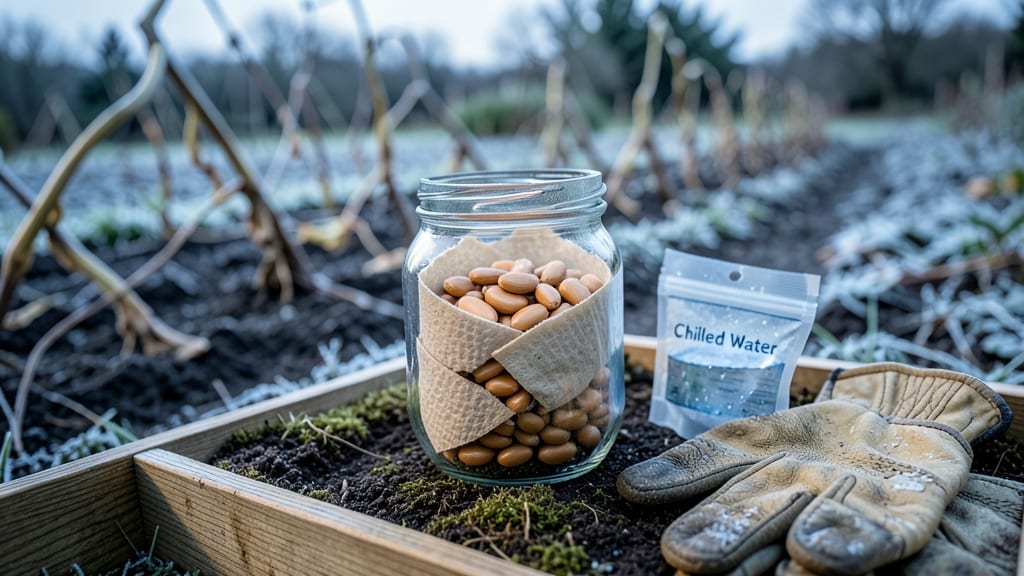
Cold climates can stall your squash dreams—especially with cold-sensitive varieties like pumpkins or winter squash. Chill stratification tricks seeds into thinking winter’s over, coaxing them to sprout faster once planted. This method is a game-changer for gardeners in zones 3-5 where spring soil stays cool too long.
Wrap damp seeds in a damp paper towel and place them in a sealed container or plastic bag. Store them in your fridge for 24-48 hours—no longer, or they’ll rot. After the cold treatment, plant them in warm soil (70°F+) for best results. This mimics the natural temperature swings seeds experience in the wild, breaking dormancy without chemicals.
Perfect for gardeners who’ve struggled with slow or spotty germination in cooler regions, this method boosts success rates by 30-50% for stubborn seeds. Try it this spring for a head start on your squash patch! 🌱
Heat Mat Germination Setup
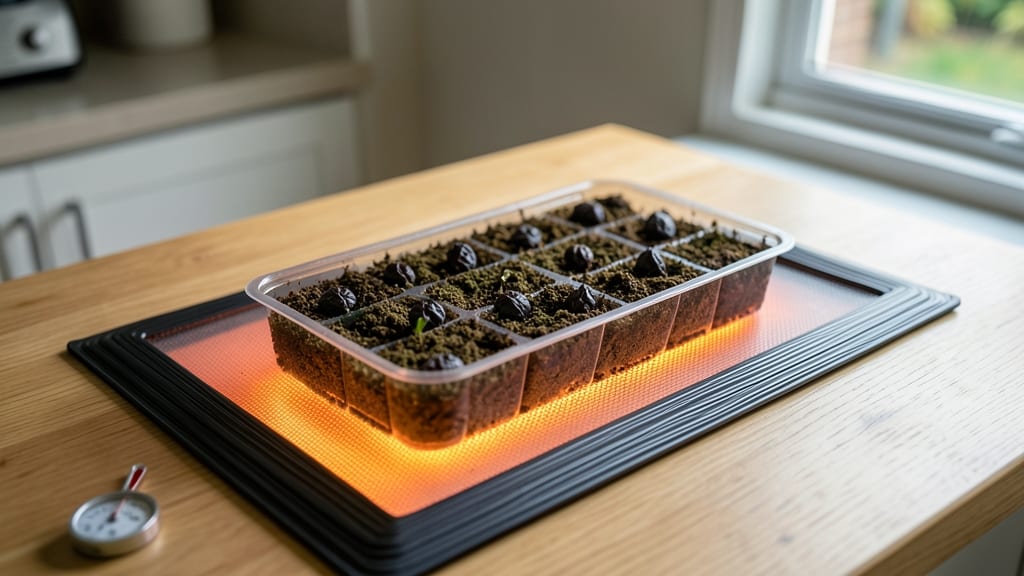
Cold early springs got you stuck indoors with dormant squash seeds? A seedling heat mat transforms your kitchen counter into a tropical nursery—consistently maintaining 75-80°F warmth that mimics summer soil conditions. This simple electric mat (available for under $20) eliminates the "waiting game" of slow germination, giving you a head start on the growing season.
Place your seed trays directly on the mat, cover with plastic wrap to retain moisture, and watch squash sprouts emerge in just 3-5 days—half the time of soil planting. The key is keeping the mat plugged in 24/7 until seedlings develop true leaves, then transition to natural light. Urban gardeners with small balconies or windowsills will love how this setup bypasses unpredictable outdoor temperatures while keeping seedlings safe from pests.
This method is especially game-changing for slow-starting varieties like butternut squash, giving them the jumpstart they need to outpace weeds once transplanted. Perfect for city dwellers who want to beat the season's first frost! 💡
Direct Sunlight Exposure Trick
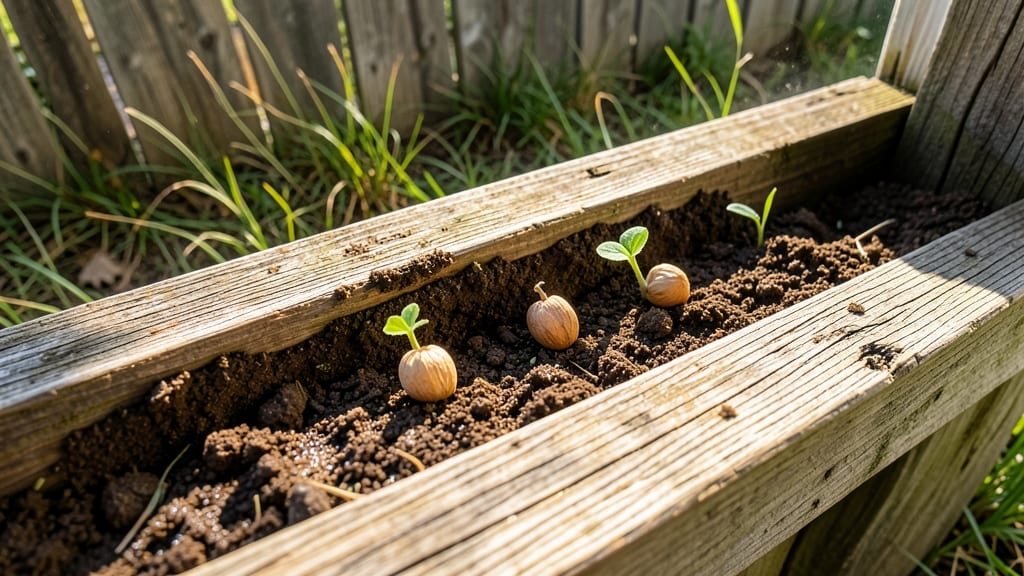
Skip the grow lights and let Mother Nature do the work with this sunlight-powered germination hack. By leveraging natural light, you can coax squash seeds to sprout outdoors—no electricity or indoor setup required. This organic method is perfect for gardeners who love hands-off, eco-friendly approaches.
Plant your seeds in a shallow tray filled with moist, well-draining soil and place it in a sunny outdoor spot (like a patio or garden bed) where temperatures stay between 70-85°F. Keep the soil consistently damp but not soggy, and watch as sunlight triggers the seeds to break dormancy naturally. This method works especially well for warm-season varieties like zucchini or summer squash.
This trick is ideal for gardeners who prefer outdoor pre-sprouting or live in mild climates where early spring warmth is reliable. Plus, it’s a great way to harden off seedlings before transplanting. 🌟
Hydroponic Sprouting System
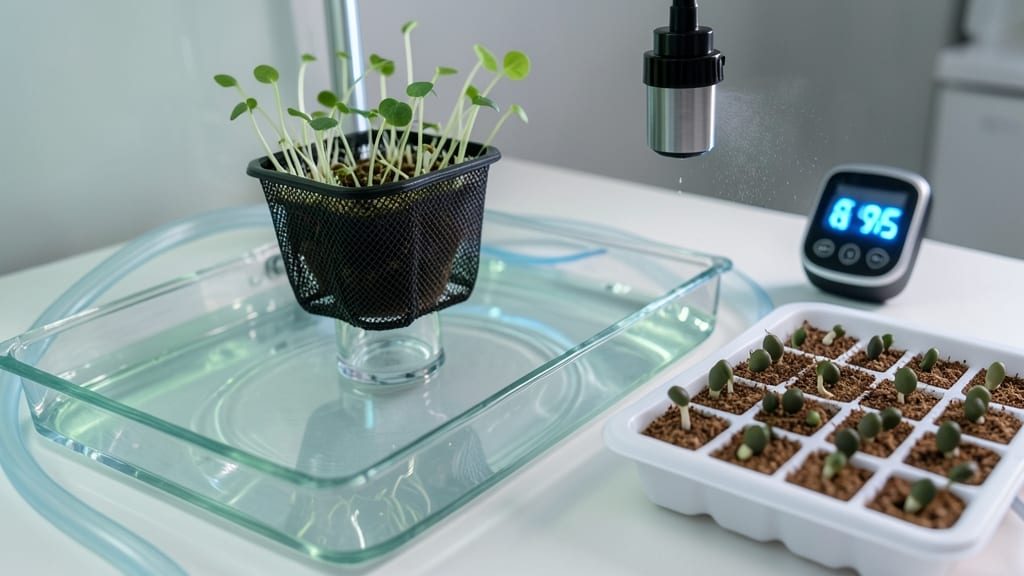
Ready to push your squash sprouts to the next level? A hydroponic sprouting system delivers the fastest germination rates by combining water, air, and precise control—ideal for gardeners who want to skip the soil entirely and maximize early growth.
Place your seeds in a hydroponic net pot filled with water, ensuring the roots can access oxygen through submerged aeration holes. Within 24-48 hours, you’ll see rapid root development, and seedlings will emerge with stronger stems than traditional soil methods. This system works best with pre-soaked seeds and maintains a consistent 70-75°F temperature for optimal speed.
Perfect for advanced growers or those with hydroponic setups, this method eliminates soil-borne diseases and gives you full control over nutrient uptake from day one. 💡
Compost Tea Pre-Treatment
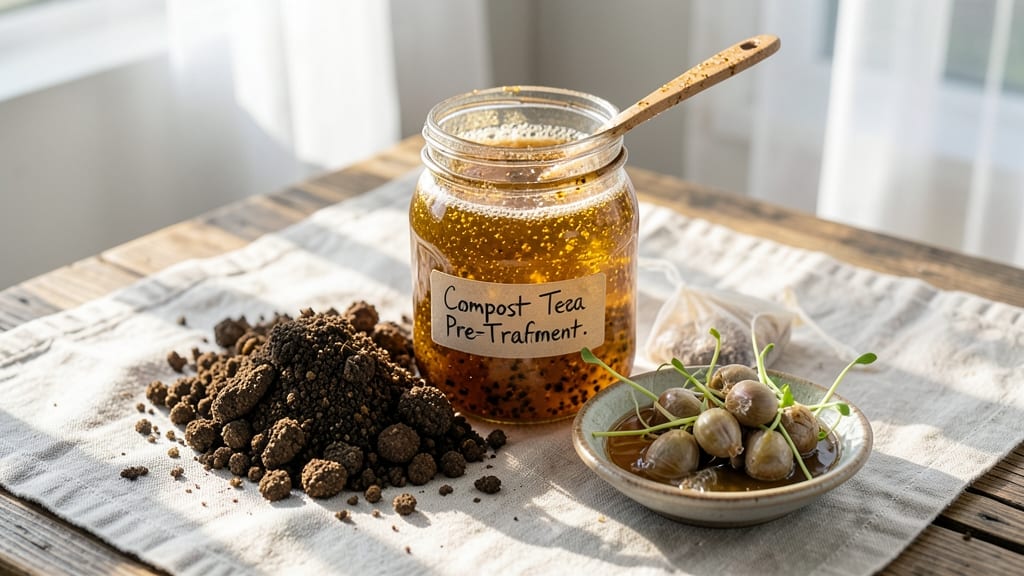
Want to give your squash plant sprouts a microbial boost before they even hit the soil? Compost tea pre-treatment is your secret weapon—this nutrient-rich elixir primes seeds with beneficial bacteria and fungi, setting the stage for stronger roots and faster early growth.
Simply steep finished compost in water for 24-48 hours, strain it, and soak your seeds for 1-2 hours before planting. The active microbes in the tea help break down seed coatings, improve nutrient absorption, and protect young roots from disease. This method is especially valuable for organic gardeners who prioritize natural soil health and want to avoid synthetic fertilizers.
Perfect for those who already brew their own compost tea, this technique adds minimal effort while delivering measurable results—think healthier seedlings that emerge faster and with greater vigor. 🌱
Cloth Napkin Method for Small Batches
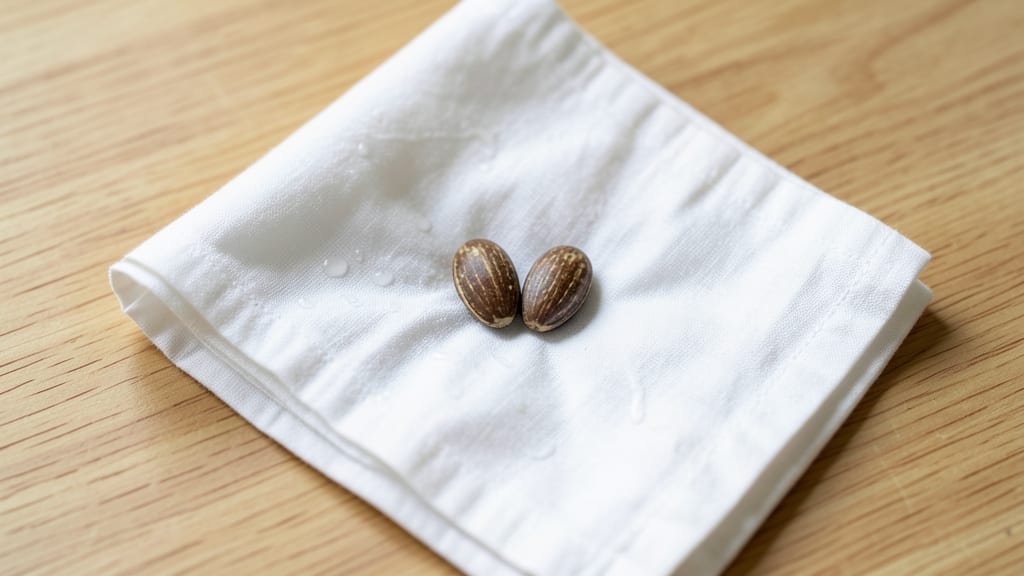
No fancy tools or extra supplies? The cloth napkin method turns a simple household item into a perfect germination station for small batches of squash seeds. This zero-waste technique uses what you already have—just dampen a clean cloth napkin, fold it into a small packet, and place your seeds inside.
Keep the napkin in a sealed container or plastic bag to maintain humidity, then store it in a warm spot (around 75-80°F). Check daily—once you see tiny sprouts (usually in 3-5 days), gently unfold the napkin and transplant directly into soil. The cloth breaks down naturally, so there’s no mess or waste.
This method is ideal for urban gardeners or anyone with limited space, offering a reusable, eco-friendly alternative to disposable paper towels. It’s also perfect for testing viability on a few seeds before committing to larger batches. 🌱
Seed Scarification with Sandpaper

Stuck with heirloom squash seeds that refuse to sprout? Seed scarification with sandpaper is your secret weapon—this simple technique mimics natural weathering to crack open tough seed coats, letting water and oxygen reach the embryo inside.
Gently rub each seed with fine-grit sandpaper (120-150 grit) for 10-30 seconds until you see a small crack. Soak the seeds in warm water for 24 hours afterward to kickstart germination. This method works wonders for old or stored seeds that’ve lost viability over time, giving them a second chance at life.
Perfect for gardeners with limited time or resources, this no-fuss technique requires just sandpaper and a bowl of water. Try it before tossing out stubborn seeds—you might be surprised by the results! 💡