
Planting
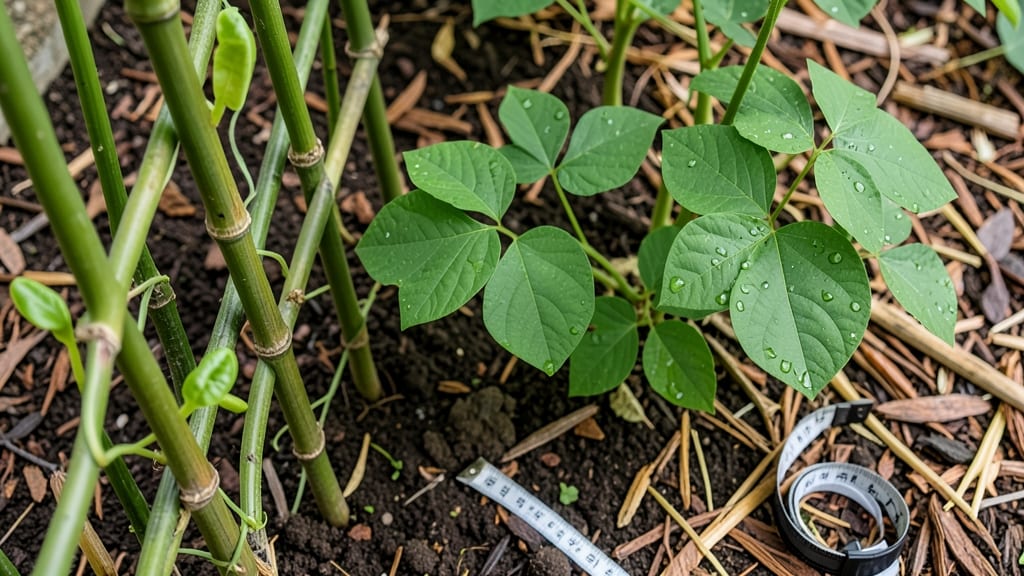
Watching a step-by-step plant growth from seed to thriving plant in just 30 days is one of gardening's most rewarding experiences. 🌱 The process starts with tiny seeds and ends with lush foliage or sweet harvests—if you follow these key steps.
I've seen beginners skip critical stages and end up frustrated, but this method works for almost any fast-growing plant.
You'll need quality seed-starting mix, containers, sunlight access, and a watering can—no fancy tools required. The real secret is consistency: keeping soil moist, providing the right light, and protecting young plants from pests. Most failures happen in the first week, so let's avoid those mistakes from the start.
By day 10, you'll see sprouts breaking through the soil, and by day 20, those seedlings will be strong enough to handle outdoor conditions. With proper care, you'll harvest leafy greens, herbs, or even baby vegetables in just four weeks.
The satisfaction of growing your own food this quickly is unbeatable.
This method works for fast growers like lettuce, radishes, and green onions, but you can adapt it for almost any plant. Whether you're a beginner or just want to speed up your garden, these steps will give you reliable results every time. Let's get those seeds growing!
📚 In This Guide
- What you need
- Instructions
- Tips and common mistakes
- Wrapping up and next steps
What you need
- ● Seeds: Fast-growing varieties like radishes, lettuce, or green onions (10–20 seeds, depending on desired yield).
- ● Growing Containers: 4–6-inch pots or a seed tray with drainage holes (1–2 per plant).
- ● Potting Mix: Lightweight, well-draining soil (1–2 bags, ~1–2 cubic feet total).
- ● Watering Can or Spray Bottle: With a fine mist nozzle for gentle hydration.
- ○ Grow Lights (Optional but Helpful): LED or fluorescent lights (12–16 hours/day) if natural light is limited.
- ● Trowel or Small Shovel: For planting and soil prep.
- ● Plant Labels: To track seed types and planting dates.
- ○ Fertilizer (Optional): Balanced liquid fertilizer (5-10-5 ratio) or compost for nutrient boost.
- ○ Humidity Dome (Optional): To retain moisture during germination.
- ○ Thermometer (Optional): To monitor ideal soil temps (60–75°F for most seeds).
How to guide any plant through growth in 30 days
Here's my battle-tested method for nurturing plants from seed to harvest in just one month.
🌱 Step 1: Prepare Your Growing Environment
Start with a clean container—anything with drainage holes will work. Fill it with 2-3 inches of fresh potting mix, not garden soil. I like to add a sprinkle of compost to give the seeds a nutrient boost right from the start. Press the soil down gently so it's firm but not packed, then water until it's moist but not soggy.
The key here is warmth. Most seeds germinate best at 70-75°F. If your home runs cooler, place the container on a seedling heat mat or even a sunny windowsill. You'll know it's ready when the soil feels warm to the touch and stays consistently moist without being waterlogged.
🌱 Step 2: Plant and Germinate Seeds
Plant your seeds at a depth of about twice their diameter—small seeds like lettuce go in shallow, while larger ones like beans need a bit more coverage. Gently press the soil over them, then mist with water until the surface looks damp. Cover the container with plastic wrap or a humidity dome to trap warmth and moisture.
Place the container in bright, indirect light. You'll see the first signs of germination in 3-10 days, depending on the plant. Watch for tiny green sprouts breaking through the soil—this is your signal that everything is working. Once they appear, remove the cover immediately to prevent mold and keep the soil moist but not wet.
☀️ Step 3: Provide Proper Light and Airflow
Now that your seedlings have emerged, they need 12-16 hours of light daily. A south-facing window or a grow light is ideal. If using a grow light, keep it 2-4 inches above the plants and adjust as they grow. You'll notice leggy growth if the light is too far away—this means the seedlings are stretching toward the source.
Ensure good airflow by placing a small fan nearby on a low setting. This strengthens the stems and prevents disease. Water the seedlings when the top inch of soil feels dry, using a spray bottle to avoid disturbing the roots. You'll see healthy growth when the leaves are dark green and the stems are sturdy.
🌿 Step 4: Monitor Growth and Adjust Care
After about 2 weeks, your seedlings should have their first true leaves—the second set that appear after the initial cotyledons. This is when you can start fertilizing lightly with a diluted liquid fertilizer. Thin out any crowded seedlings to give the remaining plants room to grow, using clean scissors to avoid damaging the roots.
Keep an eye on the soil moisture—overwatering is the biggest mistake at this stage. You'll know it's time to water again when the soil feels dry to the touch about an inch below the surface. Rotate the container daily so the plants grow evenly toward the light.
⏰ Step 5: Harvest or Transplant at the Right Time
For leafy greens like lettuce or herbs, you can start harvesting in 3-4 weeks once the plants reach 3-4 inches tall. Snip the outer leaves first, leaving the inner ones to keep growing. For root vegetables or flowering plants, wait until the leaves are fully developed before transplanting outdoors or harvesting.
If transplanting, do it on a cloudy day or in the evening to reduce stress. Water the plants thoroughly after transplanting to help them establish roots. You'll know they're thriving when they bounce back quickly from any minor setbacks and continue growing steadily.
Tips & tricks for perfect plant growth from seed to harvest
These simple tricks will help you avoid common pitfalls and maximize your plant's potential in just 30 days.
Warmth is Everything: The 70-75°F temperature range in Step 1 is non-negotiable for germination. I've seen seeds fail to sprout when placed in cooler spots, so if your home runs chilly, invest in a small seedling heat mat—it's a game-changer. Place your container on top right after planting, and you'll notice sprouts appearing faster and more uniformly. The warmth also helps prevent the soil from staying too damp, which can lead to mold.
Lighting Secrets: For the 12-16 hours of light in Step 3, I recommend using a simple LED grow light if natural light isn't sufficient. Position it just 2-4 inches above your seedlings and adjust as they grow—this prevents leggy, weak plants that stretch toward the light. A pro tip: rotate your container daily so all sides get even exposure. You'll see noticeably sturdier plants when they receive consistent light from all directions.
Moisture Management: The biggest mistake I see is overwatering, especially after germination in Step 2. Always check soil moisture by feeling about an inch below the surface—it should be dry to the touch before watering again. I use a spray bottle for seedlings to avoid disturbing the roots, and I've found that keeping the soil consistently moist (not soggy) helps prevent damping-off disease, which can kill young plants overnight.
Thinning Technique: When you reach Step 4 and need to thin crowded seedlings, use clean scissors to snip at soil level rather than pulling. This prevents disturbing the roots of the plants you're keeping. I've learned this the hard way—pulling seedlings can uproot the ones you want to save. After thinning, give the remaining plants a light watering to help them recover and establish stronger roots.
Pro Tips for Step By Step Plant Growth
- These simple tricks will help you avoid common pitfalls and maximize your plant's potential in just 30 days.
- Warmth is Everything: The 70-75°F temperature range in Step 1 is non-negotiable for germination.
- Lighting Secrets: For the 12-16 hours of light in Step 3, I recommend using a simple LED grow light if natural light isn't sufficient.
Frequently asked questions
Got questions about growing plants from seed to harvest in just 30 days? You’re not alone! Here are some of the most common queries—and their straightforward answers—to help you crush your green thumb goals.
How do I know if my seeds are viable before planting?
Test viability by placing a few seeds in a damp paper towel, sealing them in a plastic bag, and keeping them warm (around 70°F). Check daily—if sprouts appear in 3–7 days, your seeds are good to go! Pro tip: Store seeds in a cool, dry place to extend their shelf life.
Can I speed up germination for faster growth?
Yes! Soak seeds overnight in warm water, use a seedling heat mat (70–85°F), or try a bottom-watering tray to keep moisture consistent. Fast-growing varieties like radishes or lettuce may sprout in just 3–5 days with these tricks!
What if my seedlings aren’t growing straight—are they dying?
Not necessarily! Seedlings lean toward light—rotate trays daily or use a grow light to prevent etiolation (weak, leggy stems). If they’re yellow or wilted, check for overwatering (let soil dry slightly between waterings) or pests like fungus gnats.
How do I transplant seedlings without shocking them?
Hardening off is key: Gradually expose seedlings to outdoor conditions (wind, sun) over 5–7 days. Water thoroughly before transplanting, bury stems deeper than in pots, and avoid direct sunlight for the first 24 hours post-transplant.
What’s the fastest way to fix overcrowded seedlings?
Thin seedlings early by snipping (not pulling) weaker stems at soil level with clean scissors. Repurpose the cuttings as compost! For space-saving hacks, try square-foot gardening or vertical planters to maximize growth area.
Still stumped? Drop your question in the comments—we’re here to help your plants thrive!
Wrapping up and next steps
Growing plants from seed to harvest in just 30 days is totally doable with the right steps, patience, and care! 🌱 You’ve learned how to kickstart germination, nurture seedlings, and guide them through to a thriving harvest—whether it’s microgreens, herbs, or leafy greens.
Remember, every gardener starts somewhere, and your green thumb is just a few weeks away!
Ready to take the next step? Start with one small batch—pick a fast-growing plant like radishes or basil—and experiment with the techniques you’ve read. Track your progress, adjust as needed, and soon, you’ll be reaping the rewards of your hard work. Happy growing! 🌟