
Planting
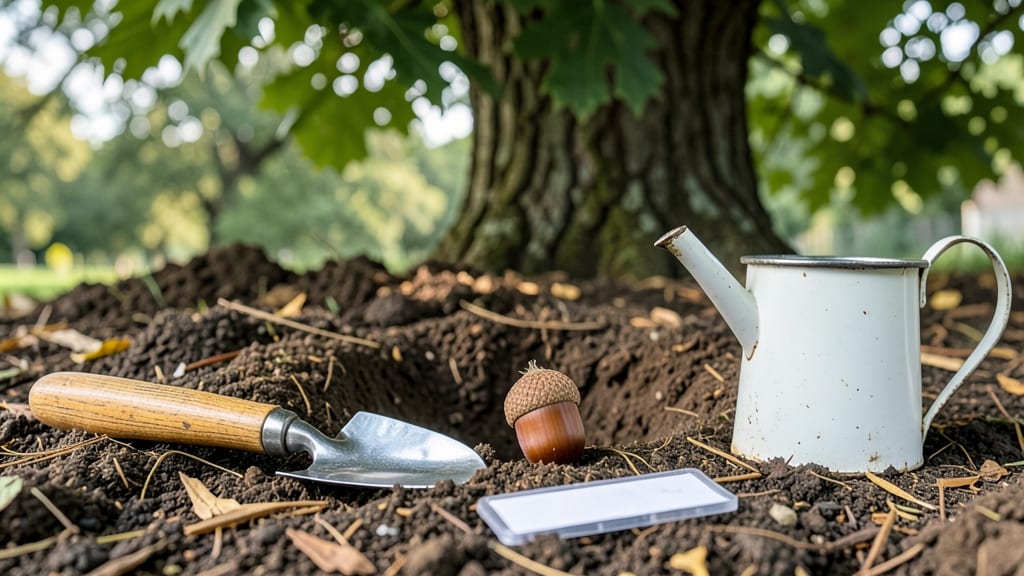
Planting an acorn nut to grow a mighty oak tree 🌳 is easier than you think—with the right steps, you can turn a simple seed into a towering shade provider in just a few years.
Picture this: a tiny acorn in your hand, a sunny backyard, and the patience to wait for nature to work its magic. That’s the beauty—and the challenge—of growing an oak from scratch.
Most acorns won’t even sprout, but when you pick the right ones and follow the proper care, you’ll be rewarded with a lifelong investment in your landscape.
In this guide, I’ll walk you through every step—from selecting the healthiest acorns to deciding whether to plant them directly in the soil or start them indoors.
You’ll also learn how to mimic winter’s cold stratification at home, when to expect those first tiny shoots, and how to protect your young sapling from pests and drought.
By the end, you’ll know exactly how to plant a acorn nut and give it the best shot at becoming a 60-foot oak in Zone 6’s climate. Let’s get started!
Choosing and preparing acorns for planting: key steps to success
Not all acorns are created equal—and not all are ready to sprout into mighty oaks. The first step in your oak tree journey is selecting the healthiest, most viable acorns from your local area.
Look for plump, firm acorns with smooth caps and no cracks or mold. Avoid those that feel hollow when tapped or show signs of insect damage, as these won’t germinate.
Once you’ve gathered your acorns, you’ll need to prepare them for planting. Oak acorns contain high levels of tannins, which can prevent germination or even cause rot. Removing these tannins through a simple soaking process is crucial.
Start by placing your acorns in a container of lukewarm water for 24 to 48 hours, changing the water every 8 hours to flush out the tannins.
After soaking, it’s time to stratify the acorns, a process that mimics winter conditions to break dormancy. Place the cleaned acorns in a moist paper towel or a mix of peat moss and sand inside a sealed plastic bag.
Store them in your refrigerator for 60 to 90 days, checking them every 2 weeks to ensure they remain moist but not soggy. This cold treatment tricks the acorn into thinking winter has passed, signaling it’s time to sprout.
How to Plant an Acorn Nut: Step-by-Step
- 1 Collect acorns from healthy oak trees in fall (September-October). Choose plump, firm acorns with intact caps.
- 2 Remove tannins by soaking acorns in lukewarm water for 24-48 hours, changing water every 8 hours.
- 3 Stratify acorns by placing them in a moist paper towel inside a sealed bag. Store in the refrigerator for 60-90 days.
- 4 Check for sprouts after stratification. Discard any acorns that rot or show mold—only plant those with visible white roots.
- 5 Plant outdoors in well-draining soil, 1-2 inches deep, in spring (April-May) after last frost.
Timing is everything when it comes to planting acorns. While you can stratify them anytime, the best time to plant is in early spring (April-May), right after the last frost. This gives the young saplings a full growing season to establish roots before winter.
If you’re in a warmer climate, you can plant as early as March, but avoid planting in fall, as the cold can stunt growth.
One common mistake is assuming all acorns will germinate. In reality, only about 20-30% of acorns will successfully sprout under ideal conditions. To maximize your chances, plant multiple acorns close together—this increases the odds of at least one thriving sapling.
If you’re planting in a container first, use a mix of potting soil and perlite to ensure good drainage and prevent root rot.
After stratification, keep an eye out for white roots emerging from the acorn. This is your signal that germination is underway! Once you see roots, it’s time to plant. For direct outdoor planting, dig a small hole 1-2 inches deep and place the acorn with the pointed end up.
Cover it lightly with soil and water gently to settle it in place. Mulch around the base to retain moisture and protect the young sprout from temperature swings.
If you’re planting in containers, use a well-draining mix and keep the soil consistently moist but not waterlogged. Place the container in a sunny spot (at least 6 hours of sunlight daily) and monitor for signs of growth.
Transplant outdoor seedlings only when they reach 6-12 inches tall and have developed a strong root system, typically in their second growing season.
Patience is key when growing oaks from acorns. Some varieties may take up to 6 months to sprout, while others may germinate within 4-8 weeks. During this time, avoid disturbing the soil around the planting site, as young roots are fragile.
If you notice yellowing leaves or wilting, it could indicate overwatering or poor drainage—adjust your care routine accordingly.
With the right preparation, your acorns will have the best chance of becoming strong, healthy oak trees. Remember, every great oak starts as a tiny seed—your efforts today could lead to a century-old giant in your backyard. Happy planting! 🌳
Optimal planting methods for acorns: direct sowing vs. nursery pots
Once your acorns are prepped and ready, choosing the right planting method makes all the difference. Direct sowing in the ground offers natural conditions, while nursery pots provide controlled environments for delicate young roots. Each approach has unique advantages depending on your climate, timeline, and available space.
For direct sowing, timing is critical—plant acorns in late spring or early fall when soil temperatures are mild. This method mimics nature's process, reducing transplant shock. However, it requires precise soil moisture control and protection from wildlife during germination.
Direct Sowing vs. Nursery Pots
Direct Sowing
- Pros: Natural conditions, less transplant shock
- Cons: Vulnerable to pests, weather fluctuations
Nursery Pots
- Pros: Controlled moisture, protection from wildlife
- Cons: Requires transplanting, limited root space
When planting directly, dig a hole 1-2 inches deep in well-draining soil with 60% sunlight exposure. Space acorns 6-12 inches apart to allow room for root development. Use a mulch layer to retain moisture and suppress weeds during the critical germination phase.
Nursery pots offer more control—fill them with a mix of sandy loam and peat moss to prevent compaction. Plant acorns at a 45-degree angle, covering half their size with soil. Keep pots in a shady, humid environment (like a cold frame) until sprouts appear, typically in 4-6 weeks.
Both methods require consistent moisture—direct-sown acorns need weekly deep watering, while pot-grown saplings benefit from daily misting. Monitor soil moisture with your finger; dry soil accelerates germination failure.
Transplant pot-grown saplings to the ground in early spring after the last frost. Choose a permanent location with full sun and space for mature growth. Mulch heavily around the base to protect young roots during the adjustment period.