
Planting
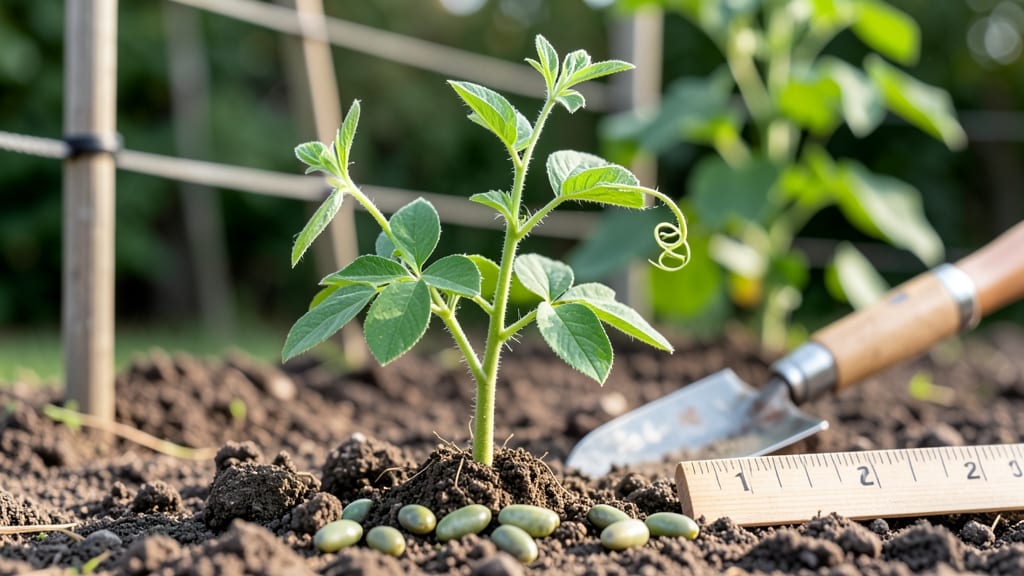
Planting pea seeds 1 to 2 inches deep is the secret to strong, healthy vines that produce pods all season long 🌱—too shallow, and they struggle to root; too deep, and they rot before sprouting.
If you’ve ever watched your pea seedlings wilt or fail to emerge, you’re not alone. The right depth isn’t just about burying the seed—it’s about creating the perfect conditions for germination and growth. Get this step right, and you’ll see faster sprouts, sturdier stems, and a harvest that lasts.
Peas thrive in cool spring soil, but even the hardiest varieties need the right spacing and depth to avoid common pitfalls like mold or weak roots. Whether you’re growing dwarf varieties or climbing types, this guide covers everything from soil prep to planting techniques that work.
Below, I’ll walk you through the ideal depth for your zone, how to adjust for different pea types, and the small tweaks that make all the difference between a thriving garden and a disappointing patch of dirt.
Optimal pea seed planting depth for healthy germination and growth
Pea seeds are delicate but resilient, and their planting depth directly impacts germination rates and stem strength. Research shows that planting 1 to 2 inches deep in well-prepared soil yields the best results, balancing moisture retention with oxygen access.
Too shallow, and seeds dry out; too deep, and they risk rot or poor root development. Let’s break down the science behind this sweet spot and how to adapt for your soil type.
The ideal pea seed depth of 1–2 inches creates an environment where seeds stay moist enough to germinate but aren’t suffocated by compacted soil. Pea seeds contain starch reserves that fuel early growth, and burying them too deeply forces seedlings to expend energy breaking through dense soil layers.
This can lead to weak stems and leggy vines, making them prone to snapping under the weight of pods.
In sandy soil, which drains quickly, you might plant seeds slightly deeper (up to 2 inches) to retain moisture. Conversely, clay soil, which holds water but compacts easily, requires shallower planting (1 inch deep) to prevent suffocation.
Always loosen the soil before planting to create a crumbly texture that encourages root penetration.
| Soil Type | Planting Depth | Germination Time | Key Adjustment |
|---|---|---|---|
| Sandy | 1.5–2 inches | 7–10 days | Add compost to retain moisture |
| Loamy | 1–1.5 inches | 5–8 days | No adjustments needed |
| Clay | 1 inch | 8–12 days | Mix in perlite for aeration |
| Container Soil | 1 inch | 6–9 days | Use well-draining mix |
The germination process for peas begins when seeds absorb moisture and swell, triggering enzyme activity that breaks down stored starches. If planted too shallow (less than 1 inch), seeds may dry out before sprouting, especially in hot climates.
My experience shows that consistent soil moisture during germination is critical—water gently after planting to settle the soil without displacing seeds.
For dwarf pea varieties, which have shorter vines, a slightly shallower depth (1 inch) works well, as their roots are less aggressive.
In contrast, pole peas, which climb trellises, benefit from the deeper end of the range (1.5–2 inches) to develop stronger root systems early. Always label your rows to track varieties and adjust care accordingly.
After planting, monitor soil moisture closely. Pea seeds need consistent dampness but not soggy conditions, which can cause fungal diseases like damping-off. Mulch with straw or grass clippings to retain moisture and regulate soil temperature.
Avoid compacting the soil around seeds, as this restricts oxygen flow and slows root growth.
If you notice uneven germination, it’s often a sign of inconsistent planting depth or soil conditions. For example, seeds planted at 3+ inches deep may take 2–3 weeks to sprout, if they sprout at all, due to limited oxygen.
To troubleshoot, gently dig up a few seeds after 10 days—if they’re still firm, they may need re-planting at the correct depth.
Once seedlings emerge, thin them to 2–3 inches apart to prevent competition for nutrients. This spacing also improves airflow, reducing the risk of powdery mildew, a common pea pest. Use sharp scissors to snip unwanted seedlings at soil level rather than pulling, which can disturb roots of remaining plants.
Remember, peas thrive in cool temperatures (50–70°F), so aim to plant them early in spring or late summer for fall harvests. By mastering the planting depth and soil prep, you’ll set your peas up for a robust start and a bountiful harvest. Happy planting! 🌱
Pea seed spacing secrets to prevent crowding and boost yields
Pea plants thrive when given the right space to stretch and breathe—crowded peas compete for sunlight, nutrients, and airflow, leading to weak vines and fewer pods. The secret to a bountiful harvest lies in proper spacing, both between seeds and rows.
Whether you're growing dwarf varieties or climbing peas, spacing ensures every plant gets the resources it needs to produce sweet, plump pods.
Most gardeners overlook row spacing, but this is just as critical as seed spacing. Planting peas too close together in rows creates a dense canopy that traps moisture, inviting fungal diseases like powdery mildew.
Meanwhile, wide row spacing (12–18 inches) improves airflow and makes harvesting easier. For climbing varieties, vertical support like trellises or cages becomes essential to keep vines off the ground and maximize space efficiency.
- 1 Seed Spacing: Plant seeds 2–3 inches apart in rows. This prevents overcrowding and allows each plant to develop strong stems and roots.
- 2 Row Spacing: Space rows 12–18 inches apart for optimal airflow and sunlight penetration. Wider spacing (18 inches) works best for climbing varieties.
- 3 Vertical Support: Install trellises or cages 6–8 inches tall for dwarf peas or 6–8 feet tall for climbing varieties to encourage upward growth and save garden space.
- 4 Thinning Tips: If seedlings grow too close, thin to 3-inch spacing once they’re 2–3 inches tall. Use scissors to avoid disturbing roots.
For climbing varieties like Sugar Snap or Snap Peas, vertical growth is a game-changer. Without proper support, vines sprawl, leading to tangled messes and poor pod development. Install trellises or stakes at planting time—this not only saves space but also keeps pods cleaner and easier to harvest.
Dwarf varieties like Little Marvel or Tom Thumb don’t need support but still benefit from 12-inch row spacing to prevent competition.
Another pro tip: interplant peas with shallow-rooted crops like lettuce or radishes. This maximizes space in small gardens while ensuring peas get the sunlight they crave. Just avoid planting them near onions or garlic, as these can stunt pea growth.
With the right spacing, you’ll enjoy healthier plants, bigger yields, and fewer pests—all while making the most of your garden’s real estate.
Remember, consistent moisture is key during the early stages. Water gently to avoid disturbing seeds, and mulch rows with straw to retain moisture and suppress weeds. By following these spacing secrets, you’ll transform your pea patch from a tangled jungle into a productive, low-maintenance harvest zone.