
Planting
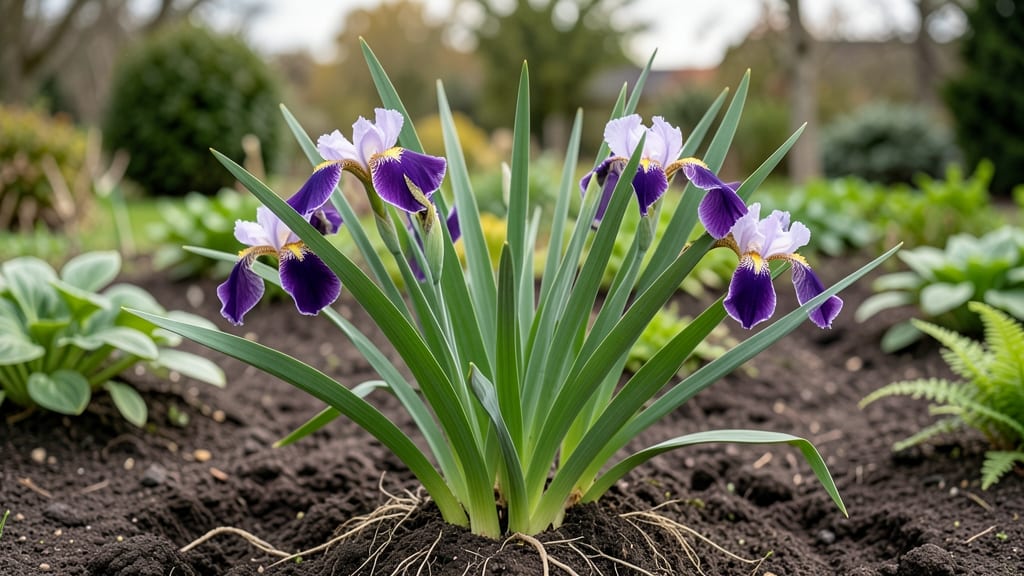
Fall is the perfect time to plant irises 🌸 — late September through October gives them the 4-6 weeks they need to root before winter.
But here’s the catch: plant too early, and your rhizomes might rot in damp soil. Too late, and they won’t establish strong roots before frost. I’ve learned which window works best for USDA Zone 6a (and how to adjust for earlier or later frosts).
This isn’t just about throwing rhizomes in the ground—it’s about soil prep, spacing, and a few common mistakes that kill irises before they even bloom. I’ll walk you through the exact steps to set yours up for next spring’s vibrant display.
You’ll leave here knowing the best months for your region, how to tell if your irises are thriving (or struggling) over winter, and the one trick that makes all the difference in root strength.
Best fall months to plant irises for maximum root growth
Fall is the ideal time to plant irises—but timing matters. Get it wrong, and your rhizomes won’t establish strong roots before winter. Get it right, and you’ll enjoy vibrant blooms next spring with minimal effort.
The key lies in soil temperature thresholds and USDA zone considerations that create the perfect window for root development.
Irises need 4-6 weeks of warm soil to grow roots before winter dormancy. If planted too early, roots may sprout and get damaged by frost. Too late, and they won’t establish before cold sets in.
The optimal soil temperature for planting is between 50°F and 60°F—this ensures roots grow without risking freeze damage.
Here’s the science: Irises store energy in their rhizomes. When planted in fall, they use this energy to grow roots before winter. Cooler temperatures trigger dormancy, protecting new growth from frost.
In warmer zones (7-10), you can plant as late as November, while colder zones (3-6) need to plant by October.
🌱 Pro Tip: Use a soil thermometer to check temperatures. If soil is above 60°F, roots may grow too fast and get damaged by early frosts. Aim for 50°F-60°F for best results.
For early frost zones (3-5), plant by October 1st to give roots time to establish. In warmer zones (8-10), you can extend planting until November or even December in mild microclimates. Always check your local frost date—planting 4-6 weeks before ensures safety.
Adjust for unpredictable weather by using mulch (2-3 inches) to insulate rhizomes. In colder zones, a light straw mulch protects roots from temperature swings. In warmer zones, skip heavy mulch to avoid rot from excess moisture.
🌿 Zone-Specific Calendar: - Zones 3-5: Plant by October 1st (soil temp: 50°F-55°F) - Zones 6-7: Plant by October 15th (soil temp: 55°F-60°F) - Zones 8-9: Plant by November 1st (soil temp: 60°F-65°F) - Zones 10+: Plant until December (soil temp: 65°F+)
If your fall is unusually warm, delay planting until soil temps drop below 65°F. Use a shade cloth temporarily to slow rhizome growth if needed. The goal is to balance root growth with frost protection—neither too fast nor too slow.
✂️ Final Tip: After planting, mark your calendar for spring pruning (after blooms fade). This ensures next year’s flowers get the energy they need from established roots. With the right timing, your irises will reward you with bold blooms for years!
Step-by-step fall planting guide for irises (with common mistakes to avoid)
Planting irises in fall gives them time to establish strong root systems before winter dormancy. The key is working with cool soil temperatures (below 70°F) and avoiding early frost. I’ve planted thousands of irises this way, and these steps ensure your rhizomes thrive—not rot—through winter.
Start by choosing a sunny location with well-draining soil. Irises hate soggy roots, so if your soil is heavy clay, amend it with compost or sand before planting.
Test your soil’s pH—irises prefer 6.0 to 7.0. If your soil is too acidic, add lime a few weeks before planting.
3 Deadly Mistakes That Kill Iris Rhizomes Before Spring
- Planting too deep: Burying rhizomes more than 2 inches deep suffocates them. Always keep the top third exposed.
- Overwatering after planting: Fall rains + extra water = rotten rhizomes. Water lightly only if soil is bone-dry.
- Skipping mulch in cold climates: Without 2-3 inches of mulch, freezing soil can heave rhizomes out of the ground.
Dig holes 3 times wider than the rhizome but only 2 inches deep. Space rhizomes 12-24 inches apart (closer for dwarf varieties, farther for standard types). Place each rhizome with its fan of roots facing downward—this ensures proper water absorption.
If your rhizome has old leaves, trim them to 1 inch above the rhizome to reduce disease risk.
After placing the rhizome, backfill with soil and press gently to remove air pockets. Never pack soil tightly—this creates anaerobic zones where roots suffocate. Water lightly only if the soil is extremely dry, then apply 2-3 inches of mulch (straw or shredded leaves work best).
This protects rhizomes from temperature swings and keeps soil moist without waterlogging.
In USDA Zones 3-5, add an extra 4-6 inches of mulch for winter protection. Check mulch levels in early spring—remove half to prevent rot from excess moisture.
Avoid fertilizing in fall; irises need to focus on roots, not foliage. Wait until early spring to feed with a balanced 5-10-10 fertilizer when new growth appears.
Monitor your newly planted irises through winter. If you notice yellowing leaves in spring, it’s often a sign of overwatering or poor drainage. Healthy rhizomes will show firm, white roots when gently dug up in early spring.
If roots are mushy or black, your planting depth or soil was too wet.
With these steps, your irises will reward you with bold blooms next spring. The secret? Patience and precision—fall planting is about setting the stage for next year’s show, not instant gratification. Happy digging! 🌸