
Planting
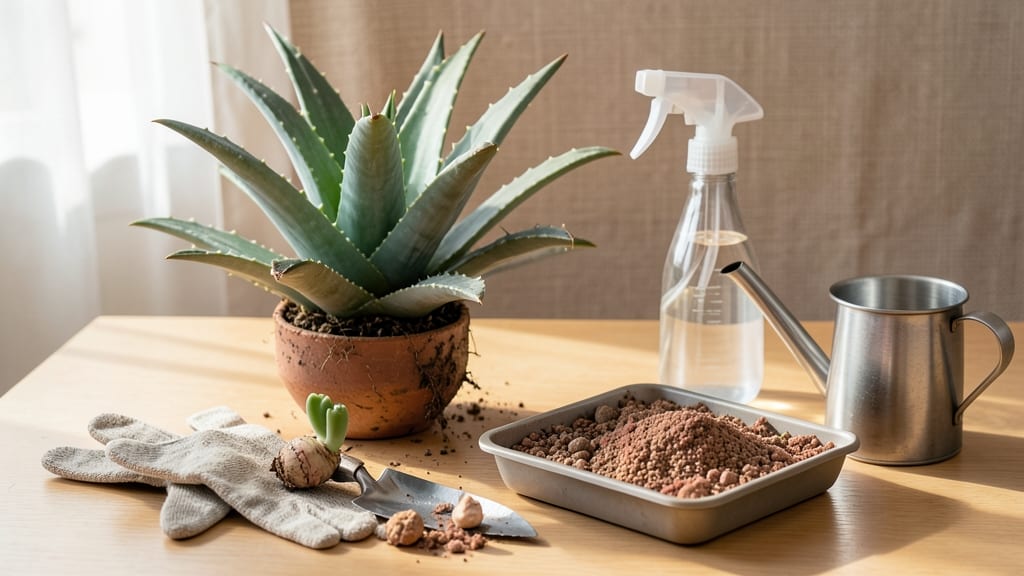
Getting fresh aloe gel without harming your plant is simpler than you think. ✨ The gel-only method lets you harvest what you need while keeping your aloe healthy—no waste, just pure plant power.
Most people don’t realize you can extract gel from mature leaves without damaging the plant permanently, and the process takes just 10 minutes once you know the right spots.
Start by selecting a mature leaf—look for ones that are thick, plump, and at least 12 inches long. The older the leaf, the more gel it contains, and the less stress it causes the plant.
You’ll need a sharp knife, rubbing alcohol to sterilize it, and a bowl to catch the gel. Timing matters too: spring or early summer gives your aloe the best chance to recover quickly after harvesting.
With the right technique, you’ll end up with clean, usable gel while leaving your aloe plant strong enough to regrow the leaf. The gel stays fresh in the fridge for up to a week, and you can reuse the leaf base for propagation if you’re feeling ambitious.
This method works for both indoor and outdoor aloe plants, as long as they’re healthy and well-established.
Whether you’re treating burns, soothing skin irritations, or just stocking up on natural remedies, this approach gives you more gel with less waste. The key is patience—let your aloe recover between harvests, and you’ll have a reliable source of fresh gel for years. Ready to try it?
📚 In This Guide
- What you need
- Instructions
- Tips and common mistakes
- Wrapping up and next steps
What you need
- ● Mature aloe plant (3+ years old) – Ensure it’s healthy with thick, plump leaves (at least 12–18 inches long).
- ● Sharp knife or pruning shears – A clean, sterile blade (preferably a chef’s knife or garden shears) to avoid damaging the plant or introducing bacteria.
- ● Cutting board or clean surface – A non-porous board (like plastic or wood) to protect your countertop and keep things hygienic.
- ○ Spoon or aloe gel scoop – A plastic or metal spoon (preferably one you won’t reuse for food) to scrape out the gel. A silicon aloe gel scooper (optional but handy) works great!
- ○ Blender or food processor (optional but recommended) – A high-speed blender (like Vitamix) for smoother gel if you plan to use it in recipes.
- ● Fine-mesh strainer or cheesecloth – To filter out any remaining pulp or latex if you’re making a pure gel.
- ● Air-tight container for storage – A glass jar or silicone mold (like an ice cube tray) to preserve freshness. Sterilize it first!
- ● Rubbing alcohol (70% or higher) – To sanitize your tools and cutting surface before use.
- ● Paper towels or clean cloth – For wiping away latex (the yellow sap) and cleaning up spills.
- ● Latex gloves – If you’re sensitive to aloe latex or just prefer not to touch it bare-handed.
- ● Vitamin E oil or lemon juice – A few drops can preserve the gel longer if stored in the fridge.
- ● Food-grade silicone molds – For shaping gel into cubes or sheets (great for skincare!).
- ● Dark glass bottle with a dropper – Ideal for storing aloe juice or tinctures if you’re experimenting with extracts.
Step-by-Step instructions for harvesting aloe gel safely
Here's the clean, waste-free method I use to extract fresh aloe gel every time—no mess, no stress.
🌱 Step 1: Select and Prepare a Mature Leaf
Pick a thick, plump leaf at least 12 inches long from the outer edge of your aloe plant. The older, thicker leaves yield the most gel. Grip near the base and twist gently until it detaches with a soft pop—no need to cut. This minimizes damage to the plant and prevents sap from oozing everywhere.
Lay the leaf flat on a clean cutting board. Rinse it under cool water to remove any dirt or debris clinging to the surface. Pat dry with a paper towel. I always work on a towel-lined surface to catch any accidental drips—aloe juice stains like a dream.
✂️ Step 2: Slice Open the Leaf for Clean Gel Extraction
Stand the leaf upright and use a sharp knife to make a lengthwise cut down the center, from base to tip. Angle the blade slightly to avoid crushing the gel inside. You'll see the translucent gel immediately—this is your prize. Hold the two halves apart gently to expose the inner fillets.
Scoop out the gel with a spoon, working from the base upward. Leave a ¼-inch border of gel attached to the leaf's edges—this keeps the plant from oozing too much when you replant it later. Discard the yellow latex (the bitter sap) completely—it's not safe for consumption and can irritate skin.
💧 Step 3: Process the Gel for Immediate Use
Place the scooped gel in a clean bowl and mash it lightly with a fork to break up any fibrous strands. For a smoother texture, blend it with 1 tablespoon of water per 2 tablespoons of gel until fully incorporated. This also dilutes any residual aloe latex that might remain.
Strain the mixture through a fine-mesh sieve into a fresh bowl to remove any remaining pulp or debris. The gel is now ready to use—no waste, no extra steps. I like to portion it into small jars for quick access, but you can use it immediately for burns, skin treatments, or smoothies.
🌿 Step 4: Replant the Leaf (Optional but Recommended)
If you want to propagate your aloe plant, lay the sliced leaf halves on top of fresh, dry potting mix in a shallow tray. Press them lightly into the soil so they stand upright. Place the tray in a warm, bright spot (avoid direct sun for 3-5 days
After a week, gently water the tray until the soil is moist but not soggy. New shoots will emerge from the base of the leaf in 4-6 weeks. This gives you free aloe plants while keeping your original healthy. Just don’t expect much gel from these babies—they’ll need time to mature. For freshest results, use the gel within 24 hours. If storing longer, transfer it to an airtight container and refrigerate for up to 1 week. The gel will thicken slightly but remains effective. Freeze portions in ice cube trays for up to 6 months—just thaw overnight before use. I keep a small jar in my fridge at all times for quick burn relief. Label your containers clearly with the date—gel can lose potency over time. When in doubt, harvest fresh for the best results. Your aloe plant will thank you by growing even bigger and fuller for next time.⏰ Step 5: Store Gel Properly for Long-Term Use
Tips & tricks for extracting aloe gel safely
Here's what I learned the hard way after trying (and failing) to harvest aloe gel a few times—these tricks will save you time and frustration.
Leaf Selection Matters: Always choose leaves that are at least 12 inches long and have a thick, fleshy base. These mature leaves contain the most gel and recover best after harvesting. I learned this after trying to use younger leaves that yielded barely any gel and left my plant looking sad.
Angle Your Knife for Clean Cuts: When making the lengthwise cut in Step 2, hold the knife at a 15-degree angle to avoid crushing the gel inside. A dull knife will tear the leaf, releasing bitter latex and wasting precious gel. I keep a sharp knife dedicated just for aloe harvesting—it makes all the difference.
Water Ratio is Key: For Step 3, stick to the exact 1 tablespoon of water per 2 tablespoons of gel ratio. Too much water dilutes the beneficial properties, while too little leaves fibrous strands behind. I blend the mixture until completely smooth to ensure no bits remain—this is especially important if you plan to use it internally.
Storage Wisdom: The 24-hour freshness window is critical for maximum potency. If you must store longer, freeze portions in ice cube trays—they thaw perfectly without losing texture. I label each cube with the date so I can rotate my supply efficiently.
Pro Tips for Get Aloe From Aloe Plant
- Here's what I learned the hard way after trying (and failing) to harvest aloe gel a few times—these tricks will save you time and frustration.
- Leaf Selection Matters: Always choose leaves that are at least 12 inches long and have a thick, fleshy base.
- Angle Your Knife for Clean Cuts: When making the lengthwise cut in Step 2, hold the knife at a 15-degree angle to avoid crushing the gel inside.
Frequently asked questions
Got questions about harvesting aloe gel the right way? You’re not alone! Here are answers to the most common concerns—so you can get fresh, pure aloe gel without stress or waste.
How do I know when my aloe plant is ready to harvest?
Your aloe plant is ready when the leaves are fully mature—thick, plump, and at least 12 inches long. Look for leaves that are leaning outward or slightly yellowing at the tips (a sign of natural aging). Avoid harvesting from the center rosette, as this can harm the plant’s growth.
How often can I harvest aloe gel from the same plant?
Give your aloe plant 6–12 months of recovery between harvests to ensure healthy regrowth. Over-harvesting weakens the plant—stick to 1–2 leaves per harvest from mature plants. Younger plants (under 2 years old) need even more time to bounce back!
What’s the best way to cut an aloe leaf without damaging the plant?
Use a clean, sharp knife to slice the leaf cleanly at the base, avoiding the center. Angle the cut slightly to prevent water from pooling. Let the leaf dry for 5–10 minutes before processing to reduce sap loss. Never pull leaves—this can tear the plant!
Can I reuse the aloe leaf after cutting it?
No, but you can repurpose every part! The outer leaf skin can be composted, and the sap (latex) can be dried for skincare (though it’s not the gel). Focus on extracting the clear gel from the inner fillet—it’s the star ingredient! For leftover gel, store it in an airtight container in the fridge for up to 1 week.
What if my aloe gel turns brown or smells bad after extraction?
Brown gel or a sour smell usually means oxidation or bacterial growth. To prevent this, work quickly, use sterile tools, and store gel in a cool, dark place. If it spoils, try pasteurizing the gel (heat gently to 160°F for 10 seconds) to kill bacteria—just don’t overcook it!
Is there a way to get aloe gel without cutting the plant?
Not really—the gel is inside the leaf, so you’ll need to harvest it. However, you can minimize damage by choosing the oldest, outermost leaves (they’re already past their prime). For potted plants, avoid harvesting more than 20–30% of the leaves at once to keep your plant thriving!
Wrapping up and next steps
Harvesting aloe gel from your plant is simple, sustainable, and rewarding—whether you’re soothing sunburns, whipping up skincare treats, or just reducing waste! 🌱 By following the gel-only method, you’ll preserve the plant’s health while unlocking its natural healing power.
Start small, experiment with recipes, and soon you’ll be a pro at turning your aloe vera into a pantry staple.
Ready to dive deeper? Try your first aloe gel recipe—like a soothing face mask or a cooling drink—and share your results with fellow plant lovers! 💚