
Planting
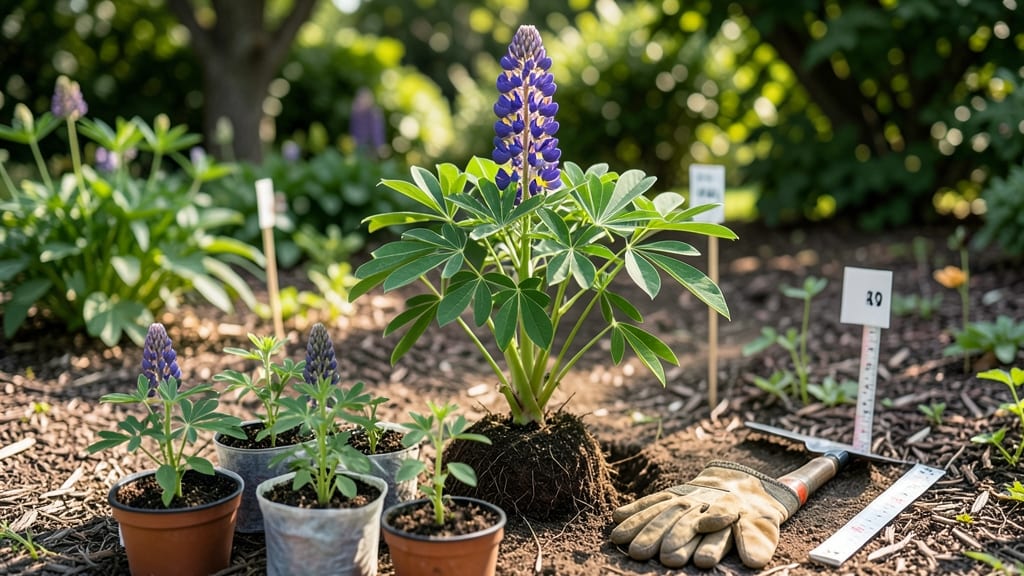
Planting lupines 🌸 too close or too far apart can make the difference between a showstopping display and a sparse, leggy mess.
You’ve probably fallen for their striking, fragrant blooms and wanted to cram them in for maximum impact—but that’s exactly how you end up with weak stems and fewer flowers.
The secret lies in spacing them just right for their variety, soil, and sunlight, so they grow bold and bushy instead of stretching thin.
In this guide, I’ll break down the ideal spacing for dwarf, standard, and tall lupines, plus how to adjust for your climate and companion plants. Whether you’re planting a border or a wildflower meadow, these spacing secrets will help your lupines thrive and create the dramatic clusters they’re famous for.
Ready to transform your garden into a pollinator paradise? Let’s dive into the numbers that make all the difference.
Optimal lupine spacing by variety: dwarf vs. standard vs. tall types
Lupines come in stunning varieties, each with unique spacing needs to ensure vibrant blooms and healthy growth.
From dwarf varieties perfect for containers to tall types that reach for the sky, spacing determines whether your lupines will thrive or struggle. Overcrowding leads to leggy stems and fewer flowers, while too much space wastes garden real estate.
Let’s dive into the perfect distances for each type to create a showstopping display.
First, consider the mature height and growth habit of your lupine variety. Dwarf types like Lupinus nanus stay compact, while tall varieties like Lupinus polyphyllus can tower over your garden.
The key is balancing air circulation and root competition to maximize blooms. Standard spacing ensures each plant has room to develop its signature fragrant clusters without fighting for nutrients.
Here’s how to space lupines by variety for optimal results:
For dwarf lupines, like Lupinus nanus, spacing them 8–12 inches apart prevents competition while keeping their compact clusters dense. These varieties are perfect for containers or rock gardens, where their low height shines. If planting in rows, maintain 12-inch spacing to allow airflow and reduce disease risk.
When planting standard lupines, such as Lupinus polyphyllus, aim for 18–24 inches of space between plants. This gives their mid-height stems room to develop without leaning or flopping. In perennial beds, stagger plants in natural clusters rather than straight rows for a more organic look.
Tall lupines, including Lupinus arboreus, demand the most space—30–36 inches apart—to support their towering blooms. Plant them at the back of borders or in dedicated tall garden beds where they won’t crowd other plants. Overcrowding these varieties leads to weak stems and fewer flowers, so prioritize spacing for structural integrity.
Adjust spacing based on your garden layout and planting goals. For example, if using lupines as a pollinator magnet, slightly wider spacing improves bee access to flowers. Conversely, tighter spacing in containers or small gardens works if you’re okay with slightly smaller blooms.
Always mulch around the base to retain moisture and suppress weeds, which helps lupines thrive in their chosen space.
Pro tip: Mark your spacing with stakes or string before planting to avoid uneven gaps. Lupines are nitrogen-fixers, so their roots will naturally expand—give them room to establish strong root systems from day one.
With the right spacing, your lupines will reward you with lush, fragrant clusters that last all season.
🌸
Pro tips for planting lupines in groups: patterns and pairings
Creating stunning lupine displays starts with intentional grouping rather than rigid rows. Lupines thrive when planted in natural clusters or drifts, mimicking their wild behavior. This approach not only maximizes their fragrant blooms but also attracts pollinators like bees and butterflies.
I’ve found that spacing lupines 12-18 inches apart in groups of 3-5 creates a lush, cascading effect that rows simply can’t match.
For border plantings, stagger lupines along the edge with 18-24 inches between clusters. This spacing prevents overcrowding while allowing each plant to showcase its upright spikes.
Pair them with delphiniums or salvias—both share similar sun and soil needs—creating a pollinator magnet that blooms from early summer to fall. The key is to plant lupines 2-3 weeks before their companions to ensure they establish first.
🌱 How Far Apart to Plant Lupines for Optimal Growth
- Dwarf Varieties (1-2 ft): 8-12 inches apart in groups of 3-5
- Standard Varieties (3-4 ft): 12-18 inches apart in loose clusters
- Tall Varieties (4-5 ft): 18-24 inches apart for wind resistance
- Border Plantings: 24 inches apart along edges with 12-inch gaps between clusters
- Mixed Beds: 12-18 inches apart with companions like lavender or catmint
Avoid the common mistake of planting lupines in perfect rows, which can look stiff and unnatural. Instead, create organic groupings by planting 3-5 seeds in a small circle, then thin to the strongest seedlings.
This method encourages fuller growth and prevents leggy stems caused by competition. I’ve also noticed that staggering planting times—adding new groups every 2-3 weeks—extends the blooming season by weeks.
When pairing lupines with other perennials, consider their growth habits. Place shorter companions like coreopsis or yarrow in front to highlight lupines’ vertical spikes, while taller hollyhocks or foxgloves can hide their seed pods later in the season.
Mulch lightly with straw after planting to retain moisture and suppress weeds, but avoid piling mulch against stems to prevent rot.
For continuous color, mix early-blooming lupines like ‘Chief Joseph’ (blue) with late-season varieties such as ‘Russell Hybrid’ (purple). This ensures your garden stays vibrant from June through September.
Just be mindful of lupines’ self-seeding habit—they’ll naturalize over time, so thin seedlings annually to maintain your desired spacing and prevent overcrowding.
One final tip: If your lupines start looking crowded after a few years, dig up and divide the largest clumps in early spring. Replant sections at the recommended spacing to rejuvenate growth.
With these strategies, your lupines will create dramatic, low-maintenance focal points that bring pollinators and color to your garden for years.