
Planting
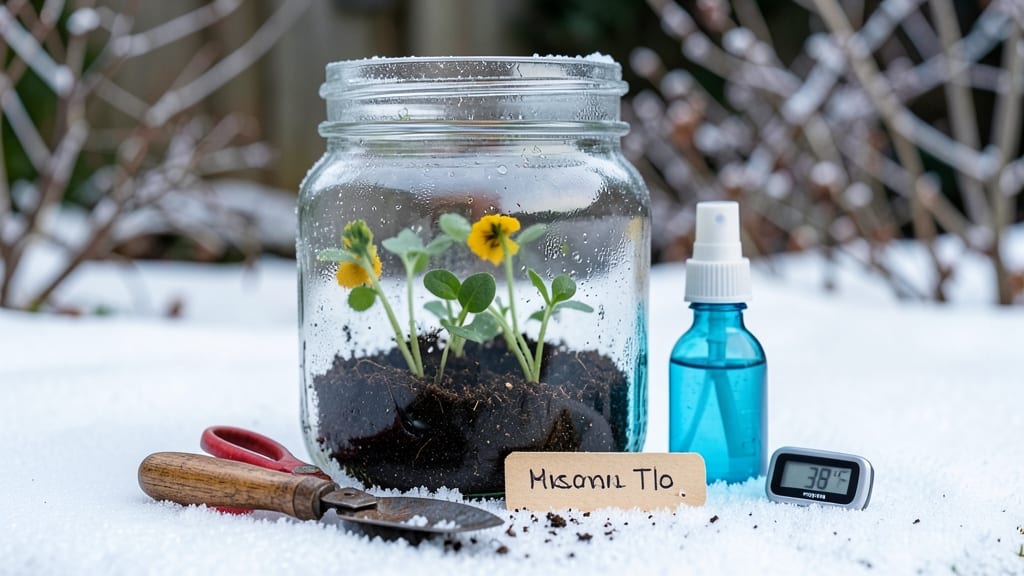
Winter sowing in milk jugs transforms my Zone 5 yard into a seedling factory before spring even arrives. 🌱 The trick is leveraging the cold, letting nature do the hard work while you sip coffee and watch tiny green shoots emerge through the ice.
This method works because Zone 5 winters are long enough to stratify seeds naturally—no heat mat or greenhouse needed.
You'll need clean 1-gallon milk jugs with lids, potting soil, and seeds that handle cold—think hardy veggies like kale, spinach, or peas plus flowers such as snapdragons and sweet alyssum. Cut the jugs in half, drill drainage holes, and fill with moist soil.
Plant seeds in late February or early March, before the ground freezes solid, and leave them outside exposed to snow and frost.
By spring, you'll have stocky, cold-hardened seedlings ready to transplant straight into the garden—no shock or stunting. The jugs protect seeds from wind and pests while letting rain and snow hydrate them naturally.
My first batch of snapdragons grew 3 inches tall by April, and the kale seedlings outpaced store-bought plants by weeks.
This method scales from a single jug to a whole garden's worth of starts, and it works even if you're new to gardening. The only real challenge is remembering to check moisture during dry spells, but the payoff—vigorous, disease-resistant plants—makes it worth the effort. Ready to try it?
📚 In This Guide
- What you need
- Instructions
- Tips and common mistakes
- Wrapping up and next steps
What you need
- ● Milk jugs (2-liter or 1-gallon): 10–20 jugs (cleaned thoroughly, tops removed or drilled for drainage).
- ● Potting mix: 5–10 gallons of well-draining, seed-starting mix (or a blend of 50% peat moss, 30% perlite, 20% compost).
- ● Seeds: Choose cold-hardy varieties (e.g., snapdragons, foxgloves, or cabbage) suited for Zone 5 winters.
- ● Scissors or utility knife: For cutting jugs (if needed) or trimming lids.
- ● Drill or nail: To create drainage holes in jug bottoms (¼-inch size).
- ● Twine or zip ties: To secure jug lids (if using them as rain shields).
- ● Spray bottle: For gentle watering (avoid over-saturating soil).
- ● Clear plastic wrap: To create mini greenhouses (if jugs lack ventilation).
- ● Rocks or pebbles: For weighing down jug lids during rain.
- ● Plant labels: Popsicle sticks or tags to track seed types.
- ○ Heat mat (optional for late sowing): If starting seeds indoors before transplanting.
- ● Gloves & warm layers: For braving the cold while assembling jugs! ❄️🧤
Step-by-Step instructions for milk jug winter sowing in Zone 5
Here’s how to transform simple milk jugs into a cold-hardy nursery for tough Zone 5 seedlings.
🪴 Step 1: Prepare and Cut Your Milk Jugs
Grab four clean, empty 1-gallon milk jugs (the standard size works perfectly). Rinse them thoroughly, then cut each in half horizontally with a sharp knife or box cutter. You’ll use the bottom halves as mini-greenhouses. Poke 4-6 drainage holes in the base of each half—this prevents soggy roots and rot.
Leave the caps on for now. The jugs will act as insulated chambers, protecting seeds from harsh Zone 5 winters while allowing sunlight and rain to penetrate. I like to label each jug with the seed type and planting date using a permanent marker—trust me, you’ll forget by spring!
🌱 Step 2: Fill and Plant Your Seeds
Fill each jug ¾ full with a mix of 50% potting soil and 50% compost. Press the soil down lightly so it’s firm but not packed. This balance gives seeds room to grow while retaining moisture. I tap the jugs gently on the table to settle the soil evenly—no lumps, no air pockets.
Plant your seeds according to packet instructions, usually ¼ to ½ inch deep. For larger seeds like peas or beans, go deeper—about 1 inch. Water gently until the soil looks damp but not soaked. The cap stays on until germination begins, trapping warmth and humidity. Zone 5’s cold snaps won’t bother your seeds once they’re snug in their insulated homes.
☀️ Step 3: Position Jugs Outside for Winter Growth
Place the jugs on a south-facing slope or flat ground where they’ll get at least 6 hours of sunlight daily. Angle them slightly so the caps face away from prevailing winds—this prevents snow buildup and keeps them stable. In Zone 5, you can start as early as late winter (February), but wait until mid-March if you’ve had heavy snow.
Watch for condensation inside the jugs—this is normal and shows the greenhouse effect working. If the soil dries out (check by lifting a jug and feeling the weight), add a small amount of water directly to the soil, not the cap. Avoid overwatering; soggy soil in cold temps leads to rot faster than you’d think.
⏰ Step 4: Monitor and Transplant in Spring
By late April to early May, your seedlings will be ready to transplant. Look for 2-3 true leaves and sturdy stems—these are your cues. Harden off seedlings by removing caps for 2-3 hours daily over 5-7 days before planting. This gradual adjustment prevents shock when they face Zone 5’s unpredictable spring weather.
Dig holes slightly larger than the root ball, place seedlings in, and water deeply. Mulch around the base with 2-3 inches of straw to retain moisture and protect young roots from late frosts. I’ve had milk-jug seedlings outperform store-bought ones because they’re toughened by winter’s chill—nature’s own hardening-off process!
✂️ Step 5: Maintain and Extend the Method
After transplanting, reuse your jugs! Clean them with soapy water, dry thoroughly, and store them for next year. You can also use them for succession planting in late summer for fall crops. The key to milk jug winter sowing is patience—Zone 5’s cold winters actually strengthen your seedlings, giving you a head start on the growing season.
Real talk: Some years, jugs may crack under extreme cold. If this happens, just grab new ones—it’s cheaper than buying transplants! The method’s simplicity is its superpower, and with a little prep, you’ll have cold-hardy seedlings ready to thrive in your Zone 5 garden.
Tips & tricks for perfect milk jug winter sowing in Zone 5
These simple strategies will help you get the most out of your milk jug greenhouse—no fancy equipment needed!
Drainage is Non-Negotiable: In Step 1, those 4-6 drainage holes are your secret weapon against rot. I’ve seen soggy roots turn into moldy messes when I skipped this—don’t make my mistake! Use a nail or drill bit to make them clean and precise, not jagged. If you’re worried about soil leaking out, line the bottom with a coffee filter before adding your soil mix. This keeps drainage perfect while preventing spills.
Soil Mix Matters More Than You Think: The 50% potting soil and 50% compost blend in Step 2 is perfect for winter sowing, but here’s the real trick: add a handful of perlite or coarse sand to improve aeration. Zone 5 winters can compact soil, and this prevents suffocating roots. I also recommend mixing in a slow-release fertilizer—just 1 tablespoon per jug—when you fill them. The cold slows nutrient release, so it’ll last through germination.
Sunlight Strategy for Zone 5: That "at least 6 hours of sunlight" in Step 3 is non-negotiable, but here’s how to maximize it: If your location gets less sun, place jugs on a reflective surface like white gravel or a light-colored board. This bounces extra light inside. Also, rotate jugs every few days so all sides get even exposure—uneven growth is a common problem when jugs face one direction all winter.
Transplanting Timing is Everything: When checking for those 2-3 true leaves in Step 4, here’s what I watch for: The stems should be sturdy enough to support themselves when you gently tug them. If they flop over, wait another week. And don’t rush the 5-7 day hardening off—Zone 5’s spring weather can swing from freezing to 70°F in days. Start with just 2 hours of cap removal on day 1, then add 30 minutes each subsequent day until you reach 2-3 hours.
Pro Tips for Milk Jug Winter Sowing Zone 5
- These simple strategies will help you get the most out of your milk jug greenhouse—no fancy equipment needed!
- Drainage is Non-Negotiable: In Step 1, those 4-6 drainage holes are your secret weapon against rot. I’ve seen soggy r...
- Soil Mix Matters More Than You Think: The 50% potting soil and 50% compost blend in Step 2 is perfect for winter sowi...
Frequently asked questions
about milk jug winter sowing in Zone 5—here’s what you need to know!Can I reuse milk jugs for winter sowing every year?
Yes! Clean and sanitize jugs with a 10% bleach solution (1 part bleach to 9 parts water) before reuse. Avoid plastic with cracks or cloudiness, as it may degrade over time. Pro tip: Label jugs with dates to track seedling progress!
What if Zone 5 winters are harsher than expected?
If temperatures drop below -10°F (-23°C), move jugs to an unheated garage or sheltered porch. Use bubble wrap or straw around the base for extra insulation. Monitor soil moisture—frozen soil won’t absorb water, so pre-moisten seeds before freezing.
Are there alternatives to milk jugs for winter sowing?
Try:
- Clear plastic containers (e.g., salad or takeout tubs)
- Glass jars (like mason jars with lids removed)
- PVC pipes (cut in half lengthwise)
How do I know when to transplant seedlings in Zone 5?
Wait until after the last frost (typically mid-May in Zone 5) and soil temps reach 50°F (10°C). Harden off seedlings by placing them outside for 2–3 hours daily for a week before transplanting. Watch for: dark green leaves (healthy) vs. yellowing (stressed).
My seedlings look leggy or weak—what went wrong?
Leggy seedlings often mean too little light or overcrowding. Rotate jugs weekly for even sun exposure and thin seedlings if roots are tangled. Weak stems? Boost light with a grow bulb or move jugs to a sunnier spot. Bonus: Fertilize lightly with fish emulsion if growth stalls.
Wrapping up and next steps
Winter sowing in Zone 5 using milk jugs is a game-changer for gardeners eager to jumpstart their growing season! 🌱 With minimal effort, you can nurture cold-hardy seedlings like kale, spinach, and pansies—even when the ground is still frozen.
The key is patience, proper insulation, and a little creativity with household materials.
Now that you’re armed with the how-to, it’s time to grab those jugs and get sowing! Start small with a few varieties, observe what thrives in your microclimate, and soon you’ll be reaping the rewards of an early harvest.
Happy planting—your future garden (and taste buds) will thank you! 🌿